 ourgarden
How we built our hibernaculum
This isn't a guide, per se; just how we did it.
Why build one?
A hibernaculum is a winter bedroom for wildlife. Toads, newts and some frogs spend the winter on land, in damp, frost-free gaps under logs, stones and soil, and plenty of insects do the same. A tidy garden has very few of those spots, so a buried pile of rubble, twigs and leaves gives them somewhere safe to sit out the cold. Next to a pond helps, because amphibians head back to the water in spring, but it isn't essential.
How it works
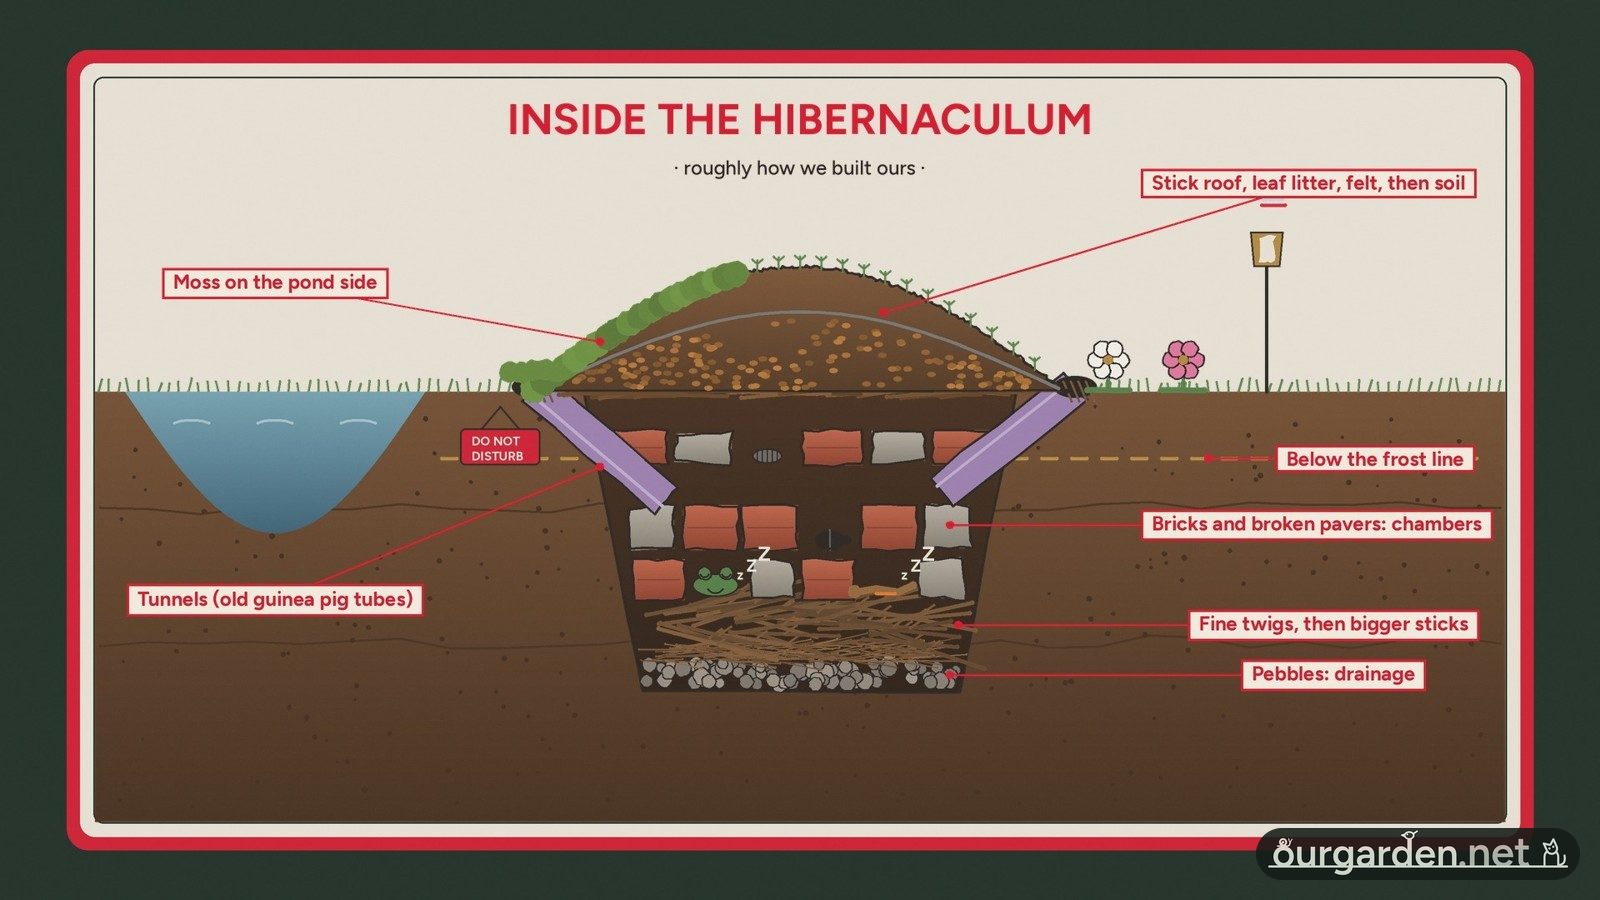
Soil insulates, so the gaps inside stay above freezing even in a hard frost. Narrow tunnels let small creatures in and keep bigger ones out. Drainage at the bottom stops it flooding: damp is good, waterlogged is not.
What we used
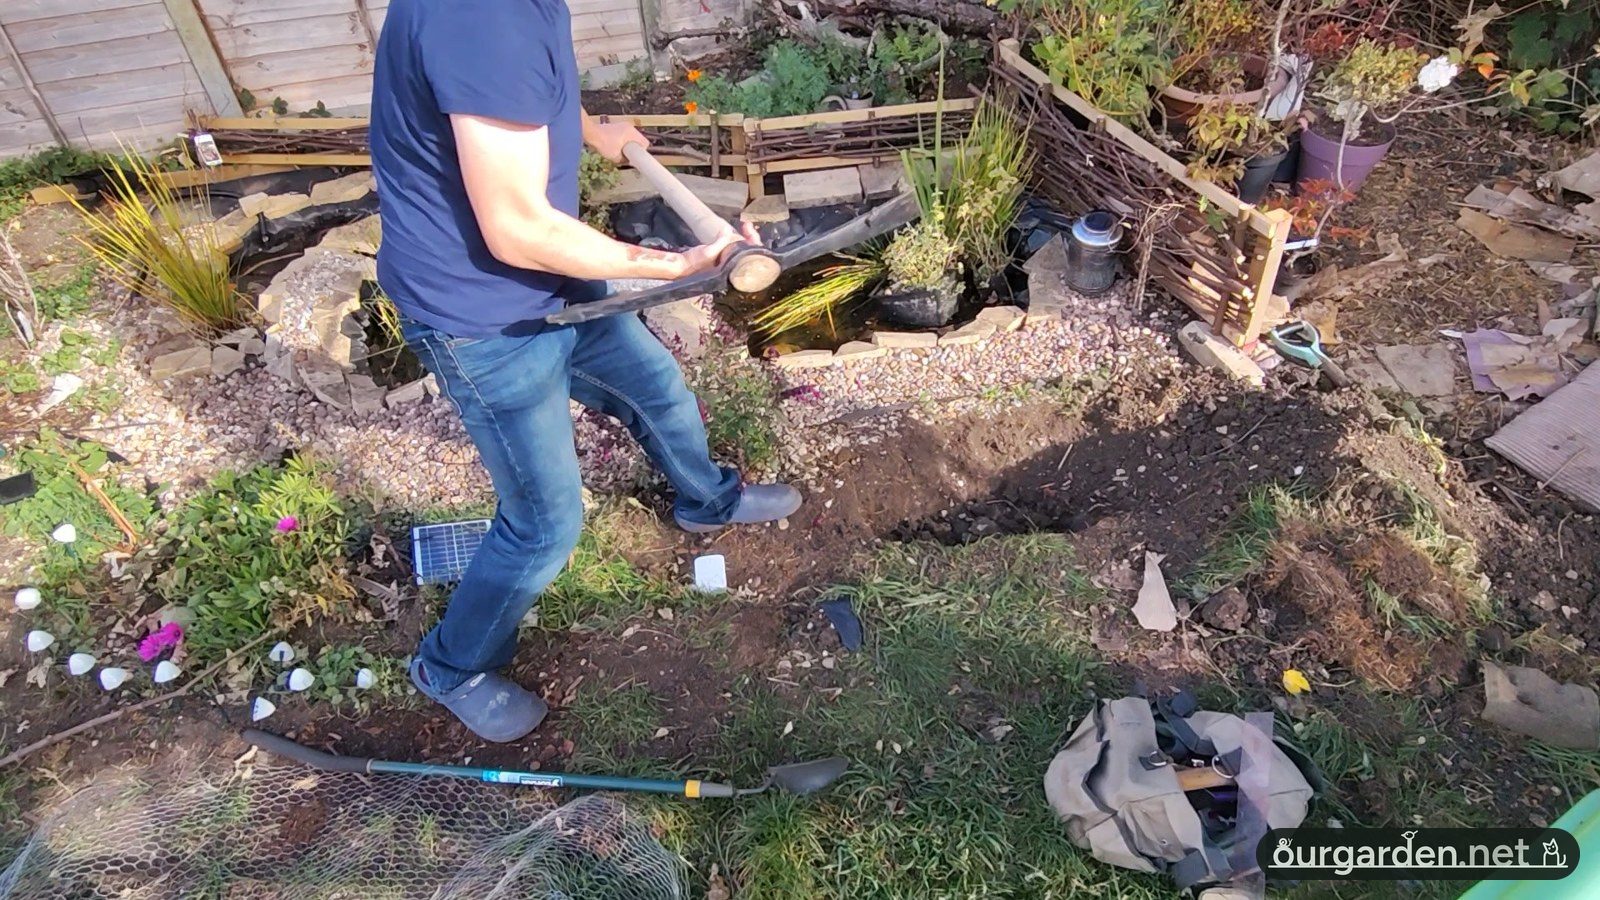 The mattock earning its keep
Mattock on Wikipedia ↗
A mattock, or any digging tool. For heavier soils I can recommend the mattock: it wasn't expensive, and it's been surprisingly busy.
Pebbles for a drainage layer at the bottom.
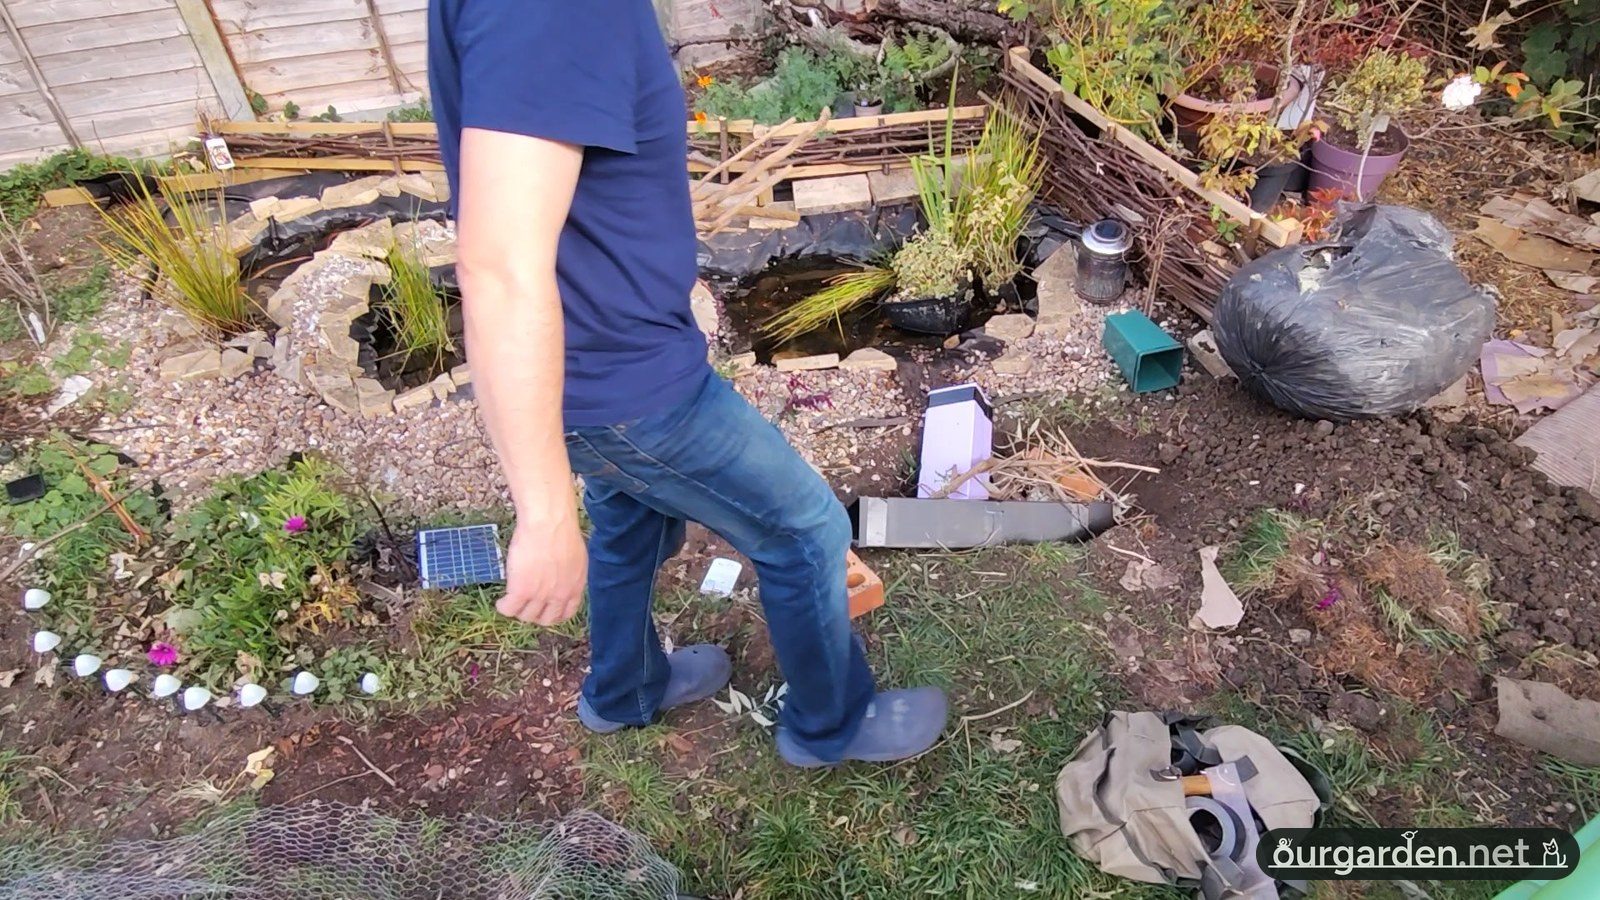 Ned, still giving
Twig on Wikipedia ↗
Twigs and brash, fine and large. We have a massive supply, and the sycamore we cut down (Ned) is still giving. Can't find twigs anywhere? Check underneath a tree. If you have the space but not the materials, improvise: anything that won't harm anything will do, but the more natural it is, the more chance of visitors.
Bricks, broken pavers or stone to hold up the inside and make separate chambers.
Tunnels. Ours are recycled from an old guinea pig cage. They're plastic, and probably slippy when wet, so the entrances get something grippy.
Leaf litter, or grass clippings: anything that insulates.
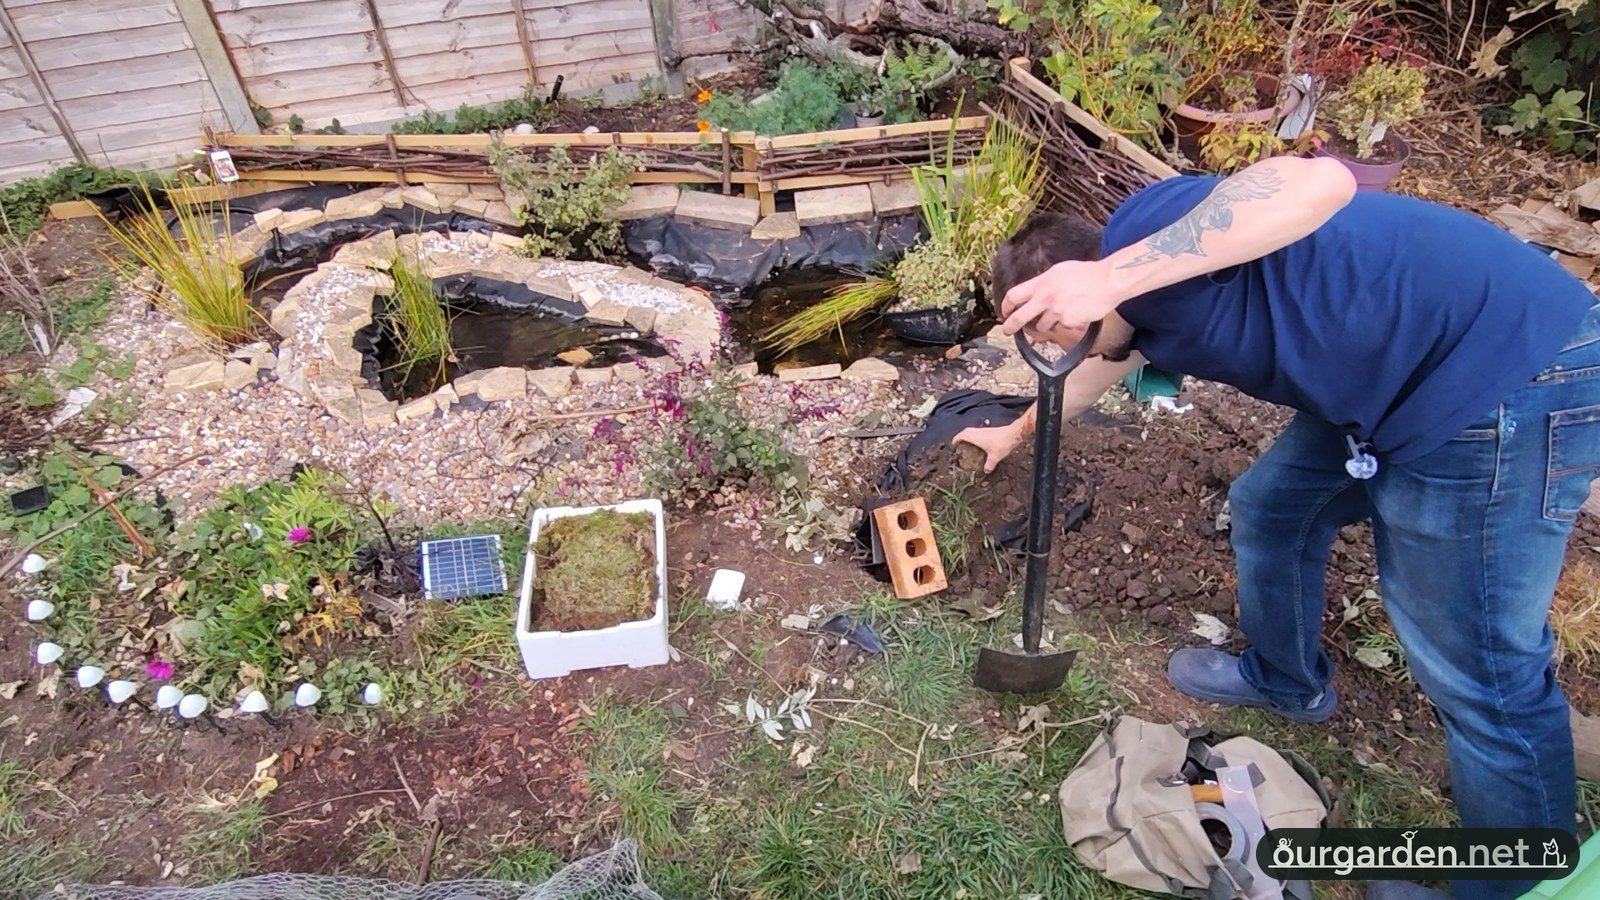 The felt goes over
Geotextile on Wikipedia ↗
Cheap under-pond felt (optional). The thin felt that goes under cheap pond liners: it's breathable and breaks down over time, so it's fine to bury. Can't recommend it if you're doing a pond, mind; that's one thing you shouldn't cheap out on. Pond section tbc!
Moss and wildflower seed to finish.
Building it
1. Dig. A hole about a foot wide, two feet long and a foot deep, with slightly sloping sides. Save the soil: it all goes back on top as a hillock, so the finished thing stands taller than the hole is deep.
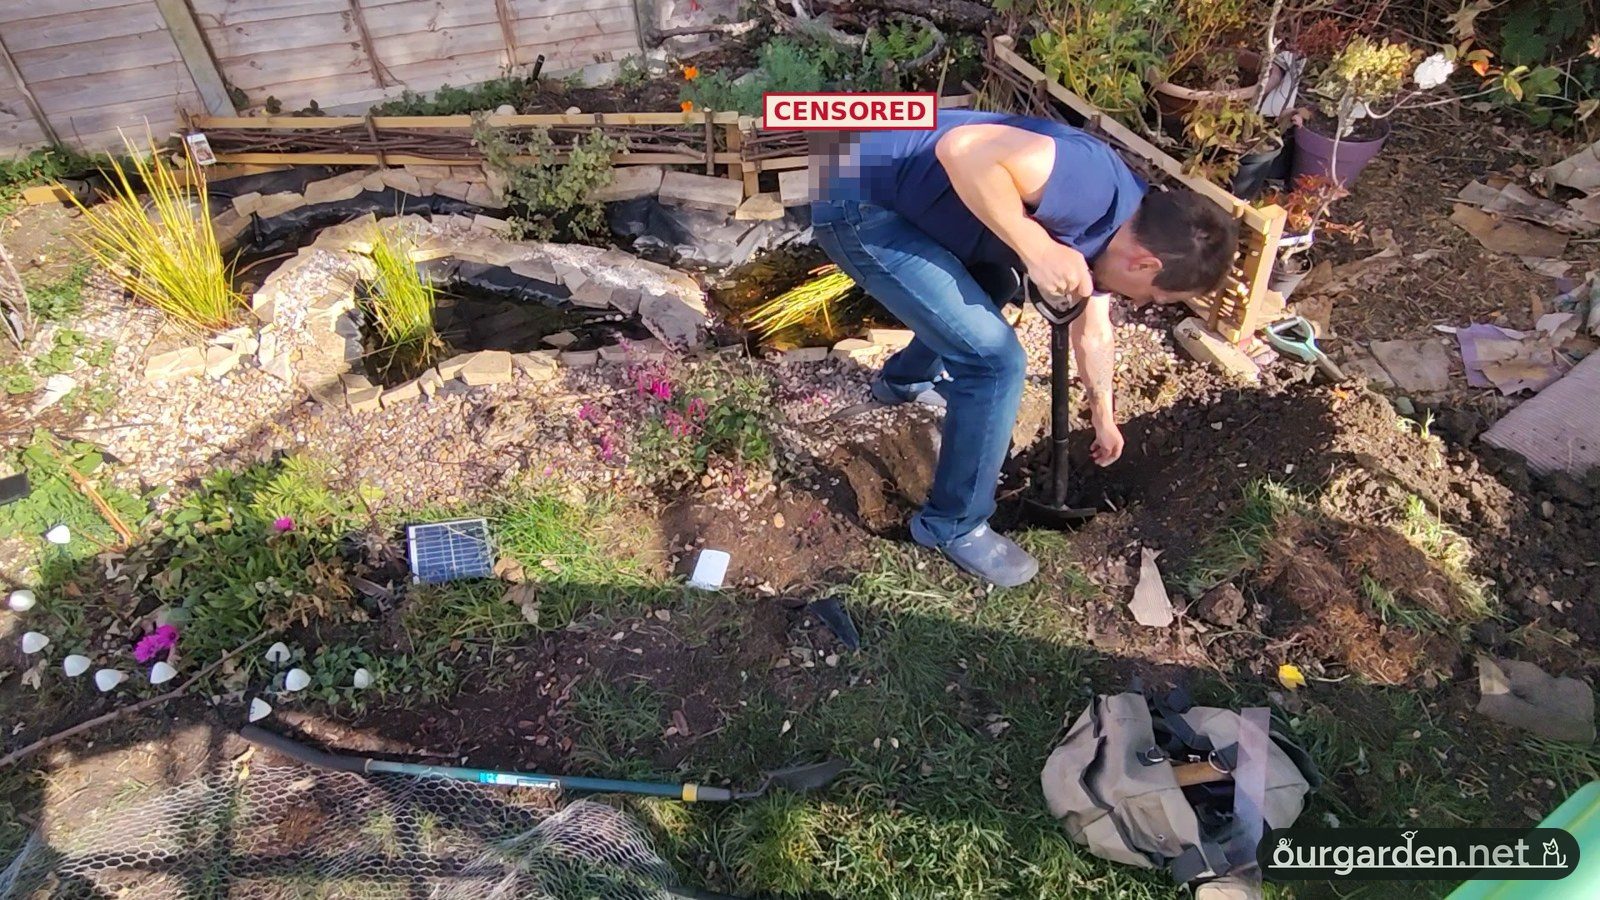
2. Drainage. A small layer of pebbles at the bottom. Along with the clay, they stop anything heavier sinking over time and make a solid, level base to build on.
3. Twigs. Fine twigs first, for insulation, then larger ones to make spaces for anything that would like to move in.
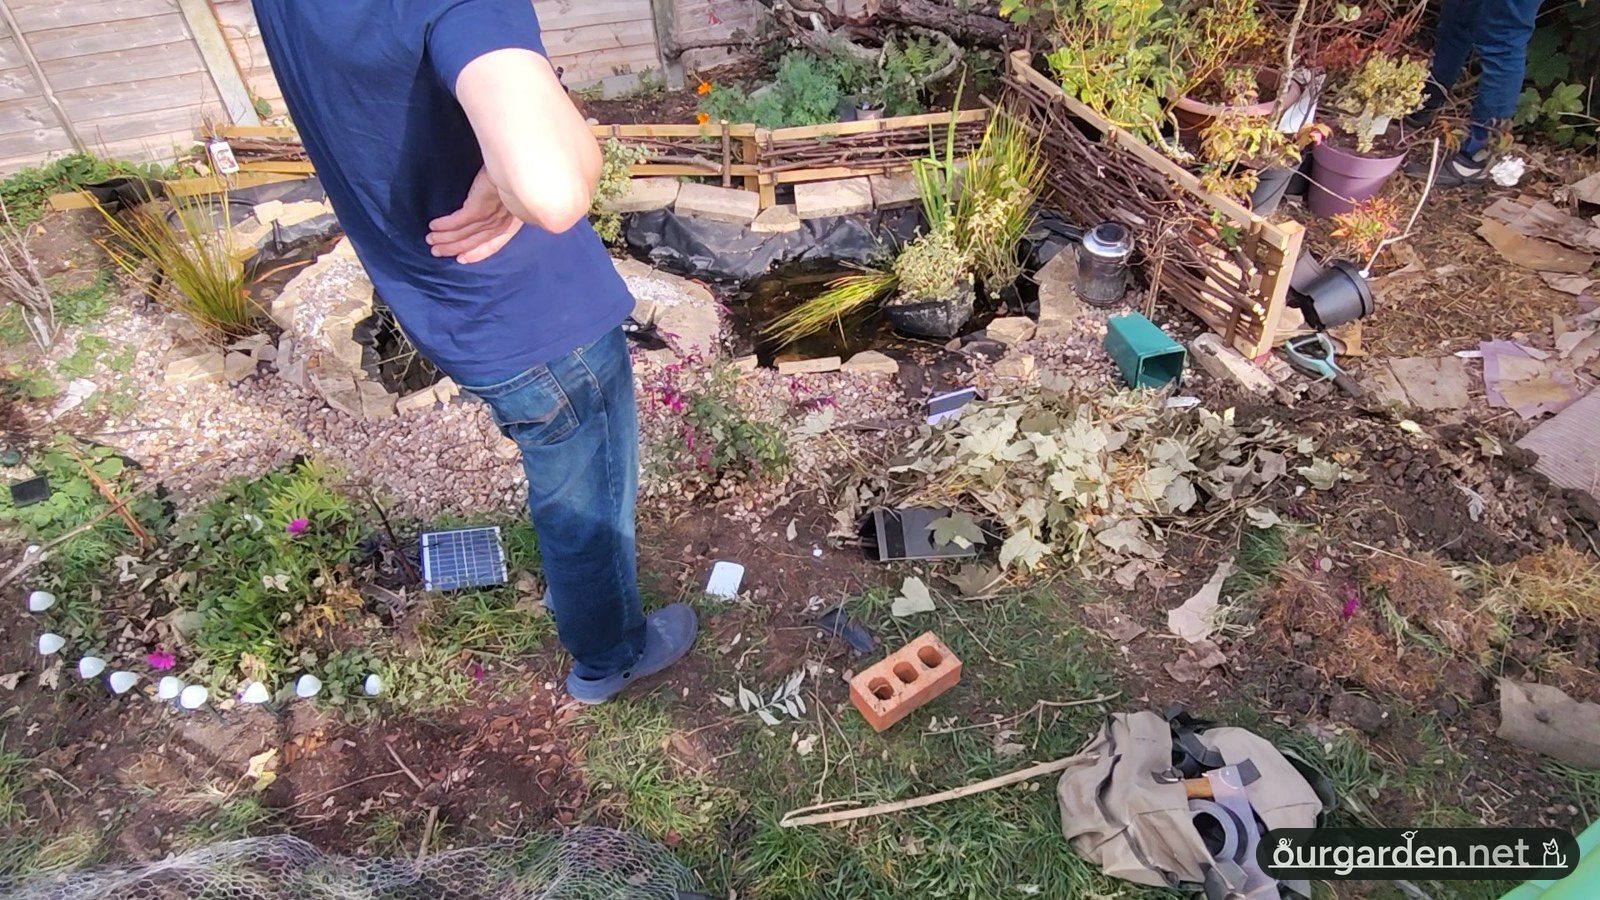
4. Supports and tunnels. Broken pavers, bricks, anything that holds up a nice inside area; separate chambers are a neat idea. The tunnels go in at this stage too, so the bricks and whatnot weigh them down.
5. Roof. More twigs and sticks, built into a roof that will take the weight of the soil, then the leaf litter. It should now look like a little mound with tubes sticking out. Not far to go.
6. Cover. All the soil you took out goes back on top. We laid the felt over the pile and tucked it in first. Get on as much soil as you can: the more insulation, the better off the critters below are in a hard frost. Go slow and trust your building. Then put something grippy at the entrances (more twigs, for us) so anything can get in and out of the tunnels.
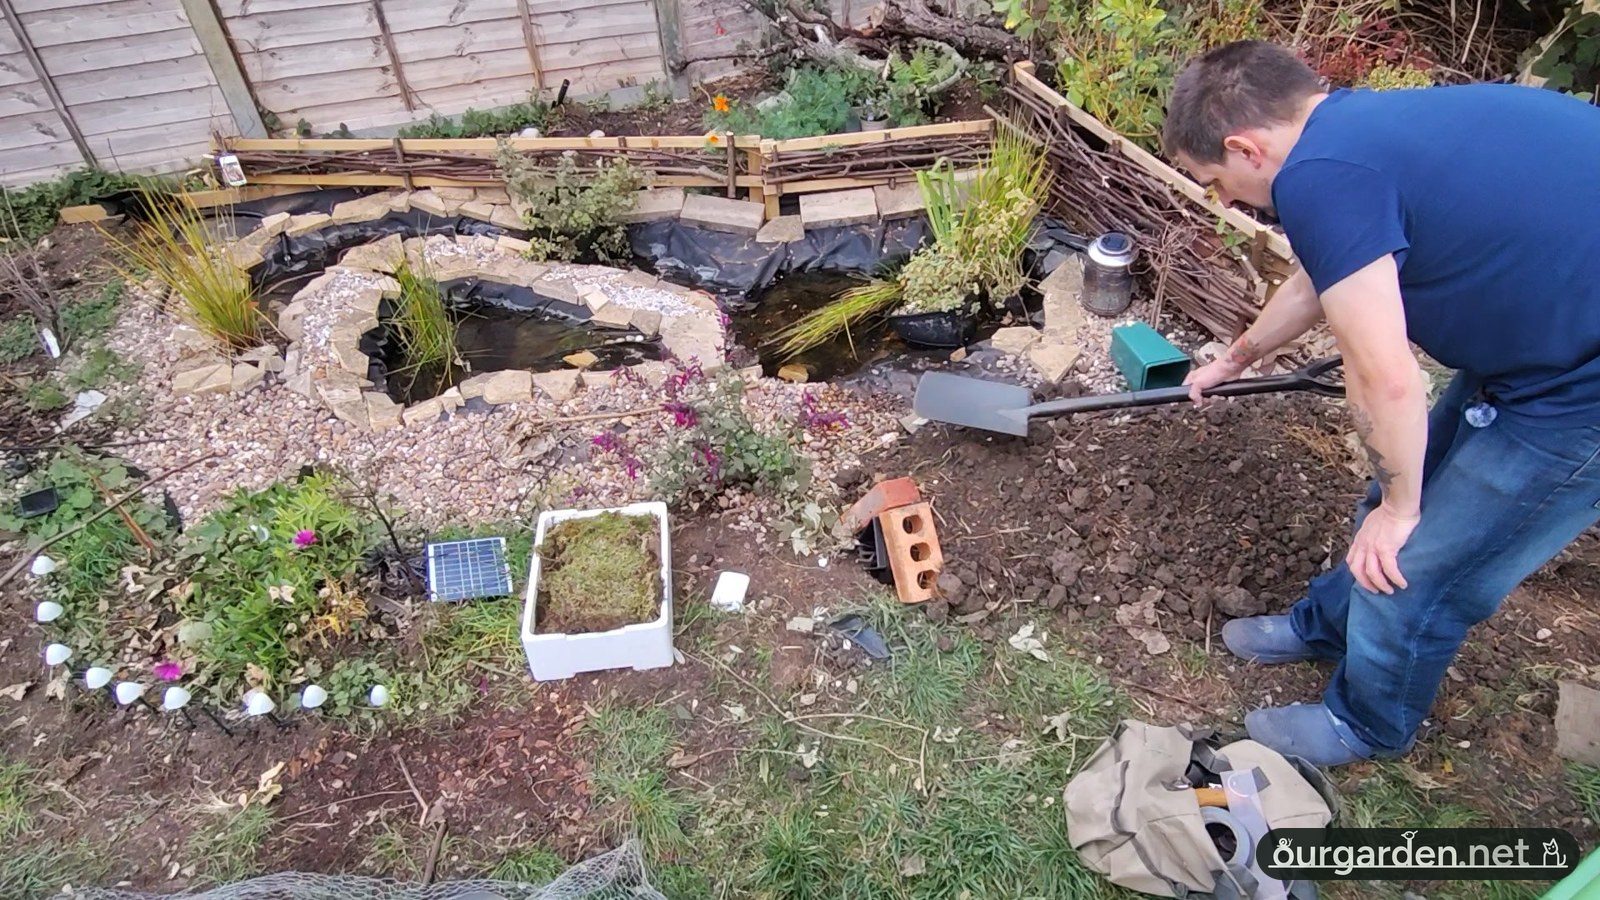
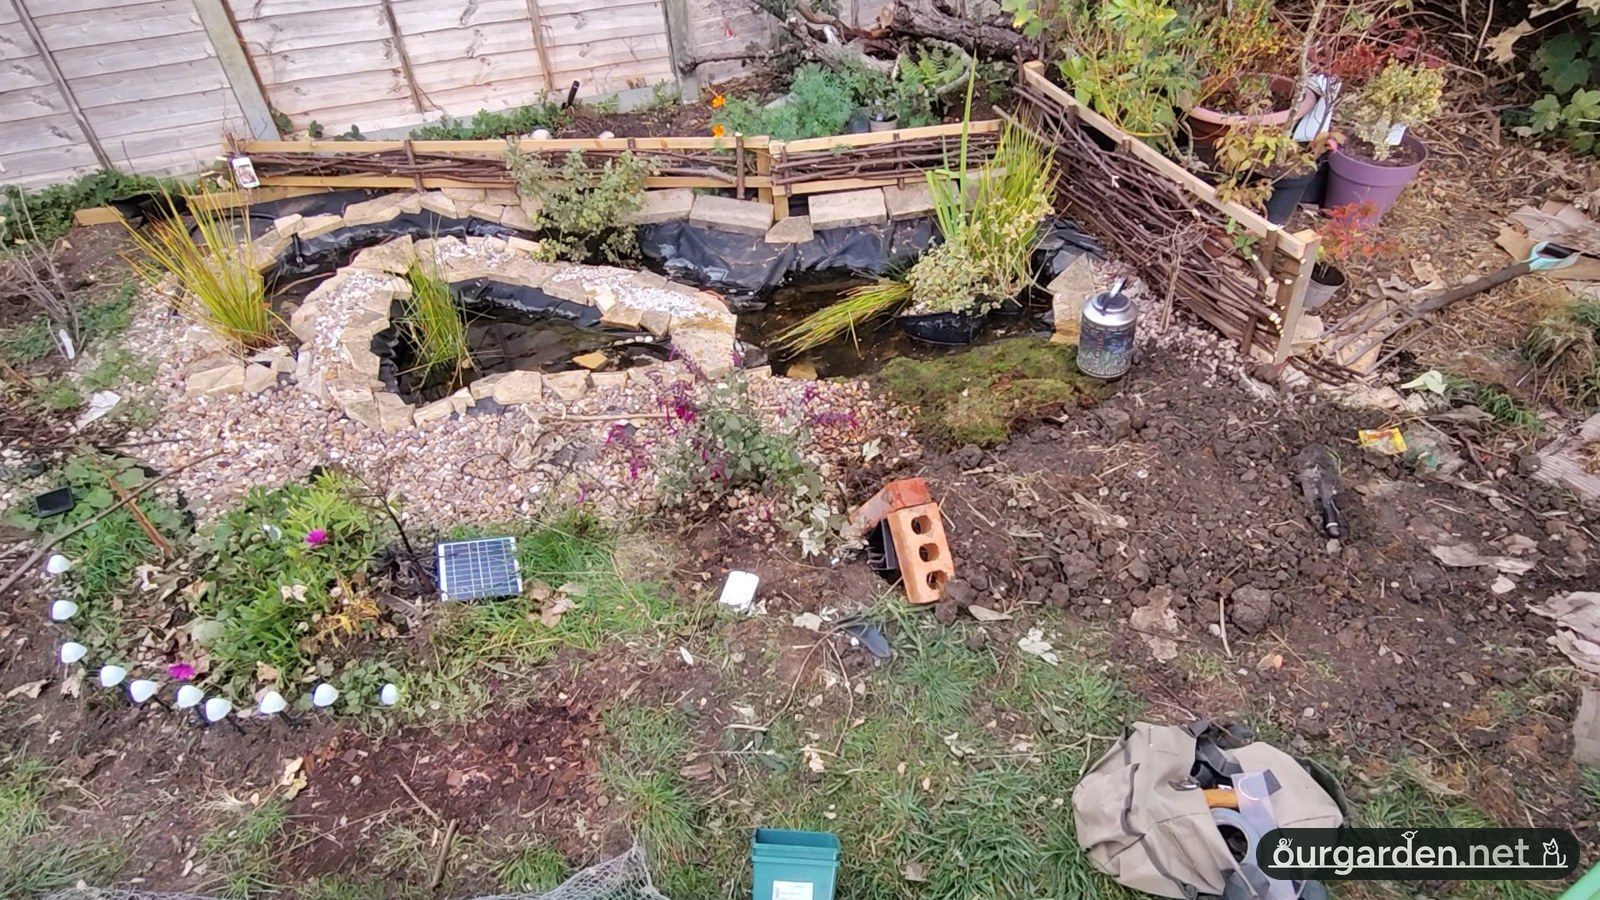
7. Dress it. Ours is by the pond, so it got the moss: the garden doesn't have a lot of height and shade at the moment (we're working on it), with the leftovers popped over the entrance. Wildflower seed was sown loosely over the top. Plants on top help bind the soil as they root, and a grittier mix helps it drain; for more ambitious planting, watch the weight.
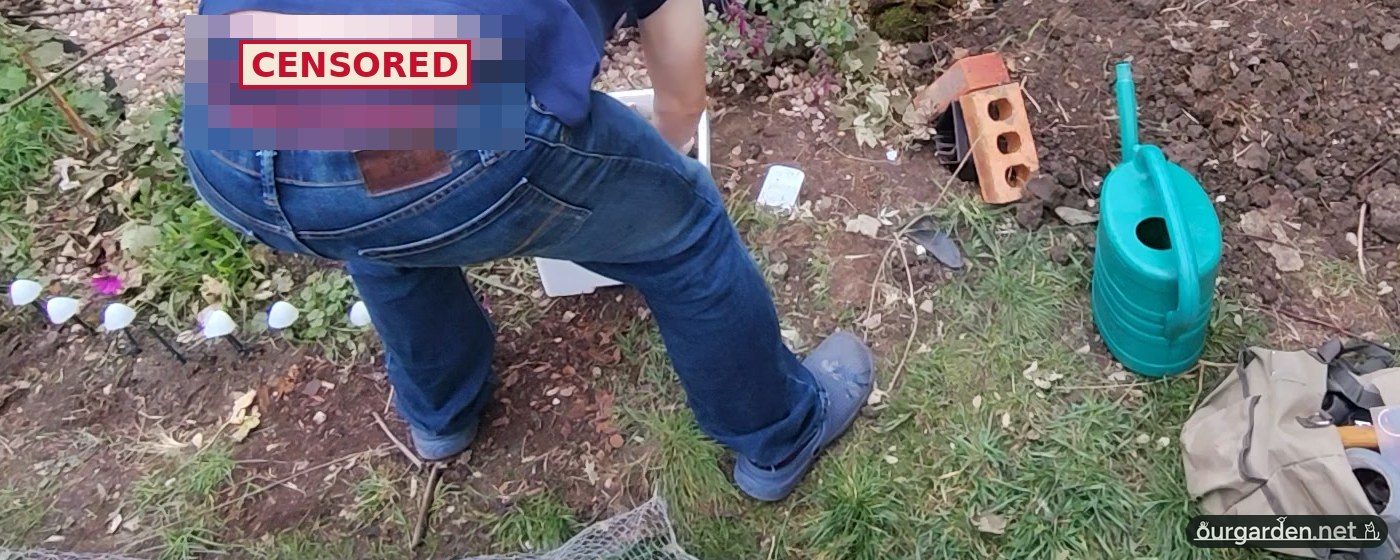
Outlay
Free: the twigs and brash (Ned), the leaf litter, the soil out of the hole, the tunnels (an old guinea pig cage), the bricks and broken pavers, the pond felt (left over from a huge, very cheap sheet bought for pond mk2) and the pebbles (off the path and the pond edge, where the moss went down in their place).
Already had: the mattock, about £35 in parts, bought for our clay soil rather than for this. A spade will do.
Bought: a box of flat moss from a nursery, £10; the wildflower seed, not much.
All in: about £10 plus the seed.
Money and effort
Effort: the digging is the work: about half an hour with the mattock in our clay, and I wasn't exactly speeding along. The building is fiddly but light, and slower is better.
Money: next to nothing if you've got a garden. Everything inside it is stuff that usually gets binned, burnt or bagged up for the tip. The felt is optional, and a spade will do if you don't fancy a mattock.
Upkeep
Natural materials break down, so it may want uncovering and repairing before the next winter sets in.
Filming this has taught me one thing, if nothing else: why gardeners wear overalls.